Introduction
You’ve got the perfect image—a logo, a cute graphic, or a family photo—and you’re ready to stitch it on a hoodie or tote. You load it into your embroidery machine and… disaster. Blurry edges, missing details, and stitches that look nothing like the original. The problem isn’t your machine or thread; it’s the conversion process. A bad PES file turns crisp artwork into thread mush. Done right, though, your stitches stay sharp, colors pop, and every detail shines. Whether you’re a hobbyist making gifts or running a small shop, these proven methods keep quality intact from pixel to thread. Here’s your straightforward guide to convert image to PES file without sacrificing a single detail.
Start with the Highest Quality Source Image
Quality in equals quality out. Pros always begin with the best possible artwork. Vector files (AI, EPS, SVG) are ideal because they scale infinitely without losing sharpness. No vector? Use the highest-resolution raster you can find—at least 300 DPI with strong contrast and clean edges. Avoid blurry phone pics or low-res web grabs. Open the file in free Inkscape or Illustrator, remove backgrounds with one click (tools like remove.bg work wonders), and crop tight. Five minutes of prep here saves hours of fixing stitches later.
Simplify Colors and Details Early
Embroidery machines aren’t photo printers. Reduce colors to six or fewer—fewer thread changes mean cleaner runs and lower costs. Merge tiny details that disappear at stitch size. Boost contrast so edges stay defined. Think bold and clean, like a cartoon version of your image. This step prevents muddy blends and keeps fine lines crisp in the final stitches.
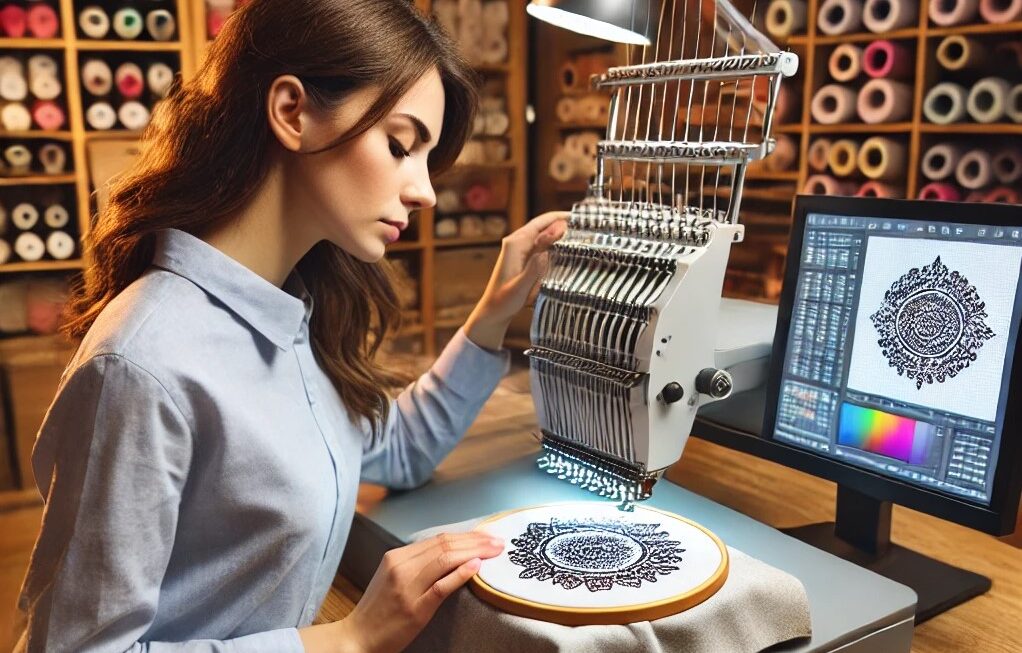
Choose the Right Software for the Job
Ink/Stitch (completely free inside Inkscape) is powerful enough for most projects. Embrilliance Essentials ($149) feels beginner-friendly with great previews. Hatch by Wilcom is the pro favorite for advanced control. All three export high-quality PES files. Pick based on your budget and how often you digitize—start free and upgrade as you grow.
Trace or Redraw for Maximum Sharpness
Simple images? Auto-trace gets you 80 % there in seconds. Complex art, small text, or anything with curves? Manually redraw every path. It takes longer, but smooth curves and minimal anchor points prevent jagged edges and thread nesting. Pros swear by manual tracing for logos that need to look perfect at any size.
Layer Everything Logically
Separate your design into clear layers: underlay first, fills second, satin borders third, outlines last. Name them “red_fill,” “black_outline,” “white_highlight.” Good layers make tweaks fast and prevent mistakes like stitching red on red.
Add Underlay to Preserve Detail
Underlay is the invisible hero that stops details from sinking into fabric. Zigzag under large fills, edge-run along satin columns, lattice on stretchy tees. Without it, fine lines blur and colors muddy. Two minutes adding underlay keeps everything sitting proud and sharp.
Mastering specialized file formats is a frequent topic on the Best Tech Blog, especially for those moving from digital art to physical production.
Set Optimal Density and Pull Compensation
Density controls stitch tightness—0.38–0.42 mm for satin, 4–4.5 mm spacing for tatami. Too dense and details stiffen; too light and they look thin. Pull compensation adds 12–18 % extra width on knits so shapes stay true. Test on your actual fabric—one scrap reveals exactly what needs tweaking.
Sequence Colors and Clean Jumps
Stitch center → outside, light → dark, small → large. Group same-color areas even if they’re far apart. Convert long jumps to hidden travel runs on the back. Add lock stitches so threads don’t unravel. Smart sequencing keeps fabric flat and details intact.
Preview in 3D and Fine-Tune
Run the simulator. Spin 360°. Zoom to 400 %. Spot blurring? Sharpen edges. Missing detail? Add another layer. Five minutes of preview prevents five ruined pieces.
Export Multiple Sizes in One File
Include 2″, 3.5″, and 10″ versions in the same PES. Switch mid-run without reopening software. Your left-chest, sleeve, and jacket back all stay perfectly proportioned.
Test Stitch on Real Fabric
Hoop the exact garment you’ll use. Run 100 stitches. Check tension (top thread 2/3 visible on back), registration, and detail clarity. One quick test confirms quality before you commit to dozens.
Pro Tips to Avoid Quality Loss
Use water-soluble topper on towels and fleece for clean surfaces. Shorten satin stitches on tight curves. Save underlay presets for each fabric type. Always add a tear-away outline for puff designs.
When to Bring in the Pros
Complex gradients, photorealistic images, or tight deadlines? Outsource to experts. Digitizing Buddy, Absolute Digitizing, and Cool Embroidery Designs deliver perfect PES files in 4–12 hours with free edits and 3D previews.
Creative Projects That Shine
Pet portraits that capture every whisker. Company logos that look premium on uniforms. Kid art turned into heirloom pillows. One high-quality PES unlocks endless possibilities.
The Future Is Sharper
AI already suggests optimal density and pull comp. Cloud conversion from your phone is here. Tomorrow’s machines will auto-refine from the file. Master these methods today and you’ll stay ahead.
Conclusion
Converting any image to a high-quality PES file is now a simple, repeatable process: start clean, simplify smart, layer carefully, add underlay, test once, and watch your stitches stay sharp and vibrant. No blurry edges, no lost details—just embroidery that looks as good as the original artwork.
Grab your next image tonight, follow these methods, and stitch your first perfect piece by morning. Your Brother or Babylock is ready to shine—give it the quality PES it deserves.